Unless I discover something astonishing, this will be my last post on printing from tree parts. My purpose for adding this post is because I tried once again to print a tree root but instead of making a rubbing, I used printer’s ink.
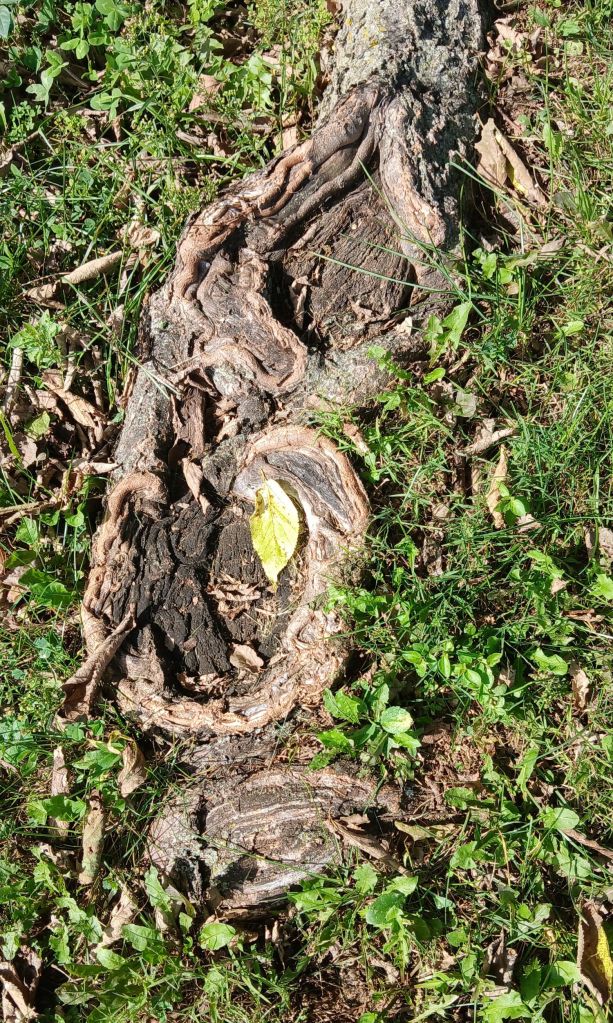
This is the tree root and I believe it is some kind of elm but I will not be able to tell for sure until late winter when buds are more prominent because the leaves in the tree’s current state are a mess. Anyway I wanted to attempt to print this using what is called a direct print method which means you apply ink to the subject, place paper down on top of the inked surface, rub the back of the paper, and presto – you have, hopefully, transferred some type of image.
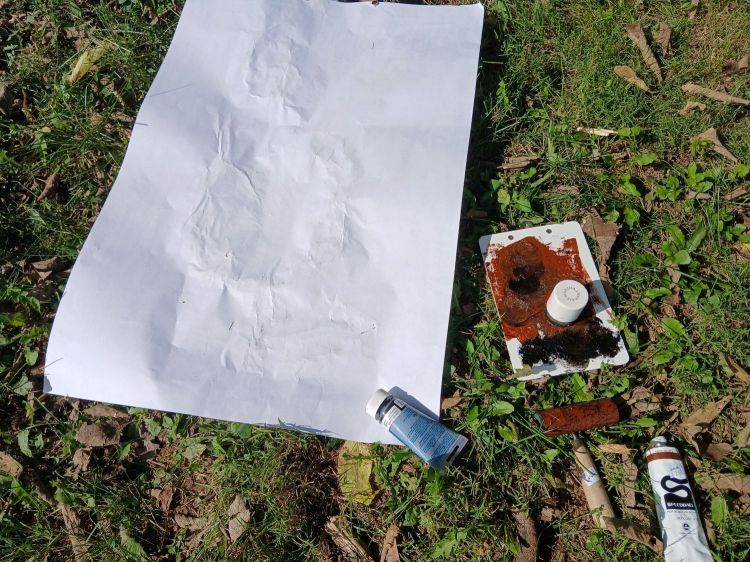
So above is said tree root inked and covered with paper. Next to that are: 2 tubes of water based relief ink (brown and black), a brayer to roll on ink, a dauber to daub on ink where the brayer will not work due to the several nooks and crannies, and a small flat pallet (which is the back of a clip board) where I rolled out the ink. It was not possible to show you the inked tree root because the ink dries so quickly that you have to work fast. I ended up tacking the paper to part of the root and inking and printing this in small segments. Dampening the paper does not word because that will just make the ink run. You just have to work very fast.
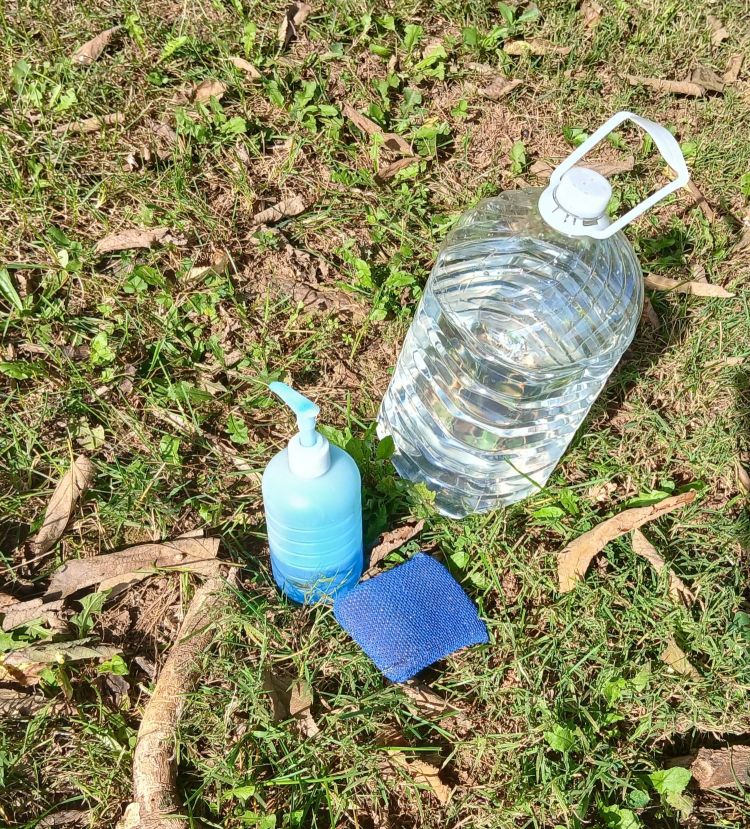
The reason for using water based ink was to be able to clean the root when I was finished. Oil based ink would have left a residue and stained the root. Notice the image above because it is important when printing from live specimens to make sure you clean up so I have some Dawn (which is the best) , a sponge and a jug of water.
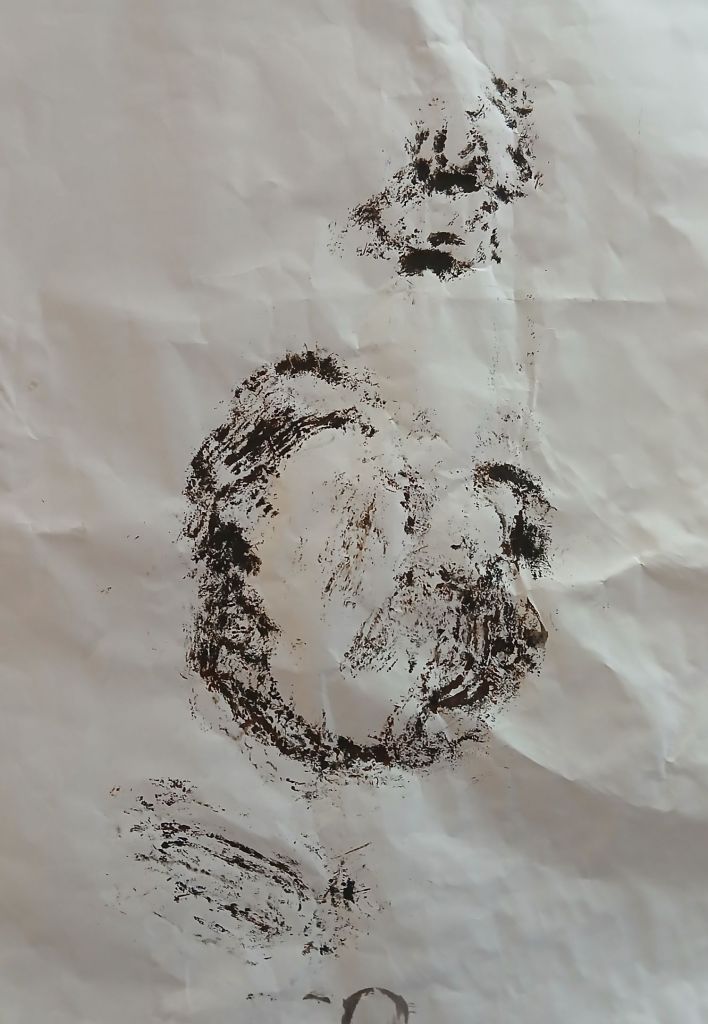
And here is the resulting print. I am not totally enamored by this nor was I by the first tree root, however, it was a fun thing to try because you never know what you will get with printmaking.

